
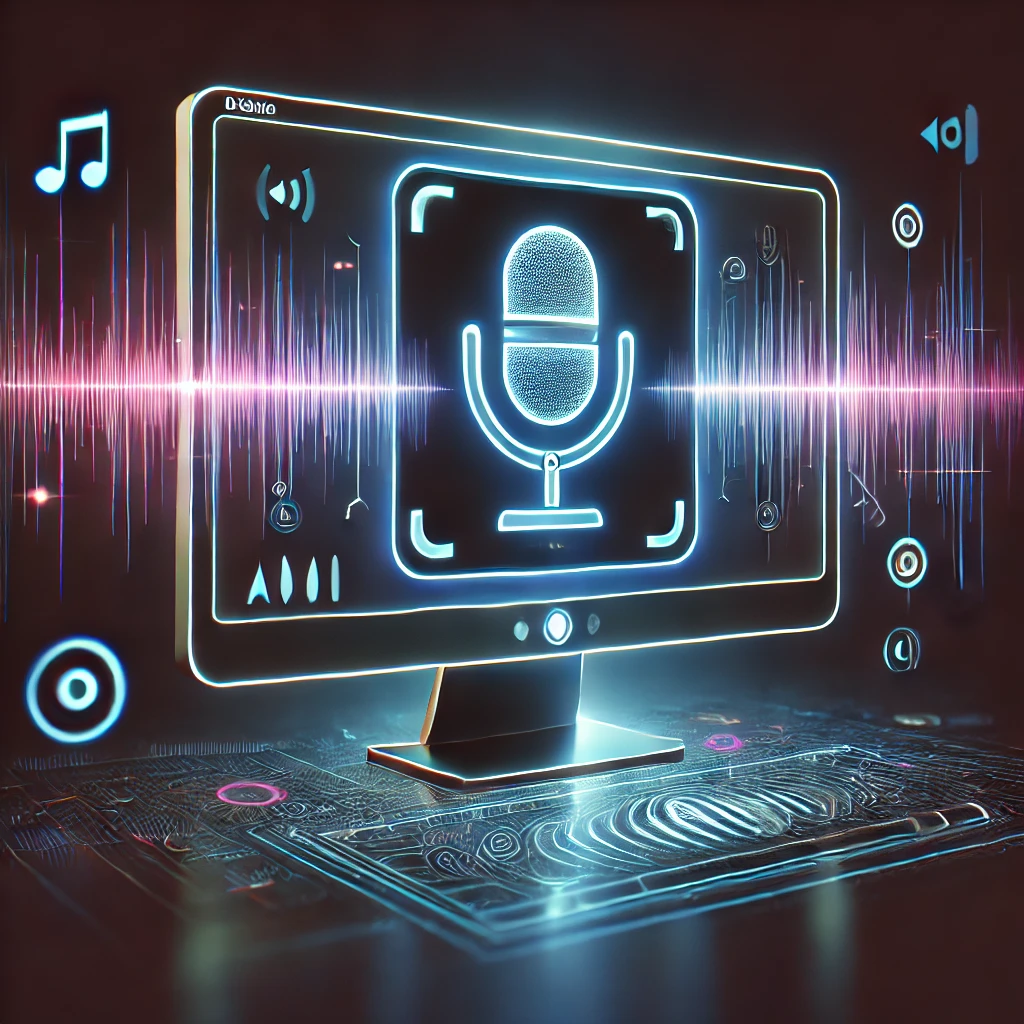
AI Speech-to-Text Web App: Build the Application
This guide walks through how to build all the files for our AI-powered speech-to-text web application. We create a Flask backend that integrates Whisper and a modern web interface where users can record and transcribe audio.
Architecture Overview
- Flask backend - handles HTTP requests and communicates with the model
- Whisper model - performs the speech recognition
- Web frontend - provides user interface for recording and display
- Audio handling - records, encodes and sends audio to the backend
Backend (app.py)
# See the original file for complete code (app.py)
The code creates a Flask app, loads the Whisper model and exposes a /transcribe endpoint that receives WAV files, transcribes them and returns the text in JSON format.
HTML Template (index.html)
<!-- See the original file for complete index.html -->
The template contains a recording button, status messages, a progress bar and a textarea that displays the transcription.
CSS (style.css)
/* See the original file for complete style.css */
The styling provides a clean and responsive layout with visual feedback when recording is in progress.
JavaScript (main.js)
// See the original file for complete main.js
The JavaScript code handles the MediaRecorder API, sends audio to the server and updates the user interface depending on status.
Optional Recording Module (recorder.py)
# See the original file for complete recorder.py
Provides more granular control over audio recording for advanced use cases.
Run the Application
Start the server with python app.py and open http://127.0.0.1:5000/ in your web browser.
Conclusion
Now we have created all the basic functionality. In the next part we summarize the project and discuss future improvements.