
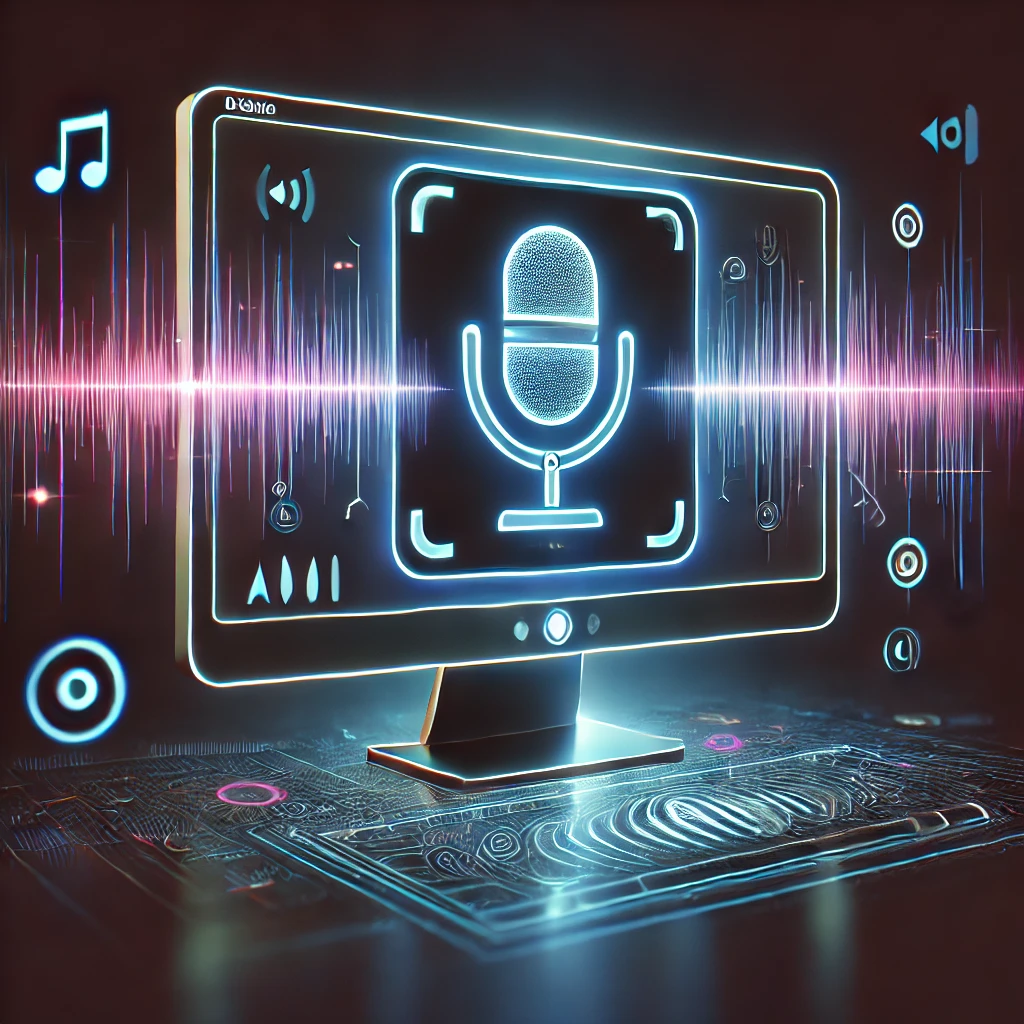
AI Speech-to-Text Web App: Install the Development Environment
In this guide we will configure the development environment for our AI-powered speech-to-text web application. We create a Python virtual environment, install all necessary packages and prepare the folder structure.
Create a Project Directory
# Create a new project directory
mkdir speech-to-text-app
cd speech-to-text-app
Create a Python Virtual Environment
Virtual environments let you isolate dependencies between different projects:
python -m venv venv

# Activate the environment
# Windows:
venv\Scripts\activate
# macOS/Linux:
source venv/bin/activate
When the environment is active, its name appears in parentheses in the terminal.
Install Required Packages
pip install --upgrade pip
pip install flask openai-whisper pyaudio numpy
pip install flask-bootstrap
Flask is the web framework, openai-whisper handles speech recognition, PyAudio manages microphone recording, NumPy provides numerical operations, and Flask-Bootstrap integrates Bootstrap.
Troubleshooting PyAudio
If installation fails, try:
Windows
pip install pipwin
pipwin install pyaudio
macOS
brew install portaudio
pip install pyaudio
Linux (Ubuntu/Debian)
sudo apt-get install python3-pyaudio
Create requirements.txt
pip freeze > requirements.txt
Structure the Project
mkdir -p static/js static/css templates
touch app.py templates/index.html static/js/main.js static/css/style.css
Test the Environment
Create a simple Flask app and HTML template according to the original example and run python app.py. Visit http://127.0.0.1:5000/ to verify the installation.
Install the Whisper Model
import whisper
model = whisper.load_model("base")
Conclusion
The environment is now ready, and we are prepared to build the actual application.